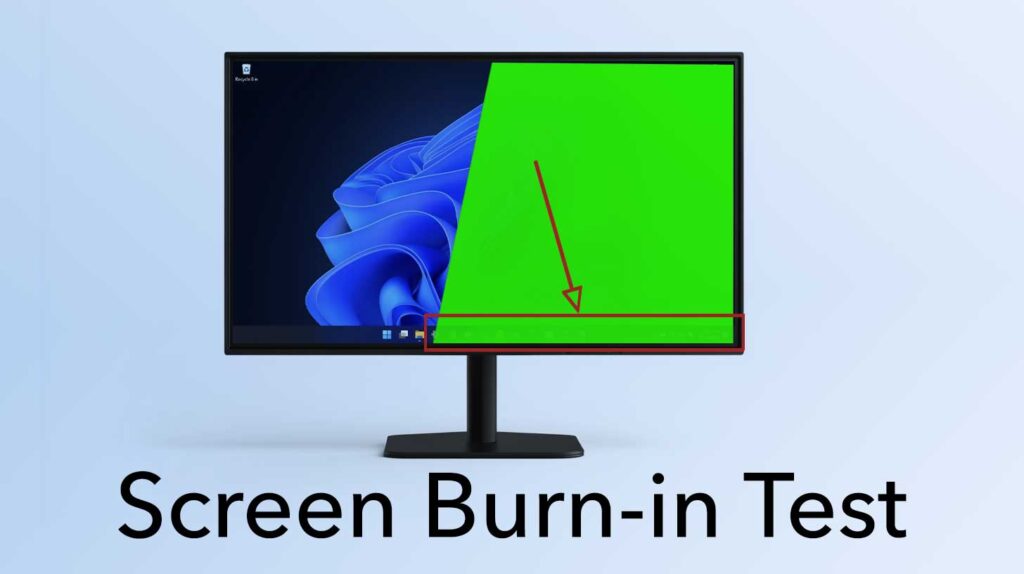
Screen burn-in is permanent damage to the display that occurs after static images remain on the screen for a long time after they change to silhouette. This causes accelerated degradation of certain pixels. This mainly affects OLED and plasma displays, as their light-emitting components age unevenly.

What can cause screen burn-in?

Common causes of screen burn include:
- Displaying static images or logos extensively;
- Leaving screens on pause or on channels with continuous graphics;
- Using high screen brightness settings;
- Engaging in long gaming sessions with static HUD elements.
How to Detect Screen Burn-In
To check for burn-in on your display:
- Display a solid color, typically gray, across the entire screen – use our Defective Pixels and Uniformity test on test panel;
- Look for any persistent images, discoloration, or uneven areas.
Many modern devices come with built-in pixel refresher tools designed to help mitigate minor burn-in issues.
Preventing Screen Burn-In
While some degree of pixel ageing is inevitable, the following steps can be taken to minimise the risk of noticeable burn-in:
- Pixel Refresh or Screen Shift Tools: Many modern displays, especially OLED TVs and smartphones, have built-in settings designed to refresh the screen and shift static content slightly to even out the wear on pixels.
- Use Static Images Less Frequently: To prevent further burn-in, try to avoid leaving static images on the screen for extended periods. Use features like screen savers, auto-turnoff, or sleep settings to ensure the screen isn’t displaying the same image for too long.
- Lower Brightness Settings: Keeping your screen brightness at a lower setting can reduce the rate at which pixels degrade.
- Fill Screen Tools: Some online tools and apps can cycle through full-screen colors to possibly help equalize the wear on the display.
- Professional Repair: In cases where the burn-in is particularly bad, professional repair might be necessary. This could involve replacing the screen, which can be costly.
Is it possible to fix?
Once screen burn-in has occurred, it is usually permanent and cannot be completely fixed. You can sometimes reduce its visibility using pixel-refresh features or color cycling tools if your device supports them. These methods attempt to even out the wear on the display but do not guarantee the removal of burn-in. Replacing the screen is often the only effective solution.
Impact on Different Display Types
OLED Displays: Highly susceptible to burn-in due to their self-emitting pixels, which degrade independently, causing uneven wear.
LCD Displays: Generally less prone to permanent burn-in but may show temporary image retention that typically resolves on its own (check our screen retention test).
Plasma Displays: Although similar to OLEDs in vulnerability, modern plasma screens have better resistance against burn-in.
