Monitor sharpness test

sharpness test

Before you begin the sharpness test, make sure your monitor is warmed up for at least 30 minutes, as this allows it to reach a stable operating condition. Also, ensure that your screen is clean and free from dust and smudges, as these can affect the perception of sharpness during the test.

Start the sharpness test by clicking the “â–º” button in the test panel.

Below the panel screen tests, you can find more information about monitor sharpness.

Test Pattern
Defective Pixels
Uniformity
Color Distances
Sharpness
Gradients
Gamma
Response Time
The functionality is not available for your screen width. The test can only be performed on a desktop monitor.

Explore our online display assessment tool.

Sharpness in Monitors

Sharpness on a monitor refers to the clarity and crispness with which content is displayed. It shows how well details are reproduced on the screen. Sharpness is influenced by several factors including the monitor’s resolution, pixel density (pixels per inch), and the technology behind the display panel. Higher resolutions and greater pixel densities typically result in sharper images as more pixels are used to display details.

monitor sharpness test

Factors Affecting Monitor Sharpness

Several key factors influence the sharpness of a monitor:

  • Resolution: Higher resolution means more pixels are used to display an image, which generally increases sharpness.
  • Pixel Density: This measures how many pixels are displayed per inch of the screen. Higher pixel density often equates to sharper images because the pixels are less distinguishable to the human eye.
  • Display Technology: Technologies like IPS (In-Plane Switching), TN (Twisted Nematic), and OLED (Organic Light Emitting Diode) have different characteristics affecting how sharp the display appears.
  • Calibration and Settings: Incorrect calibration or sub-optimal settings can reduce sharpness, even on high-quality monitors.

Potential Issues from Poor Monitor Sharpness

Inadequate sharpness can lead to several issues:

  • Eye Strain: Straining to view unsharp images can cause significant eye discomfort and fatigue.
  • Reduced Productivity: Poor image quality can decrease efficiency, especially where detail-oriented tasks are concerned.
  • Misinterpretation of Details: In fields like medical imaging or engineering, precise detail is crucial and lack of sharpness can lead to errors in interpretation.

Conducting a Monitor Sharpness Test

Tools and Resources Needed

To perform a sharpness test, you’ll need:

  • Online tools: These are available online tools and patterns that can be downloaded from various professional calibration websites such as Allcoloscreen.
  • Calibration Software: Software like DisplayCAL or built-in monitor tools can help in accurately adjusting the display settings.

Step-by-Step Guide to Performing the Test

  1. Setup: Ensure your monitor is at its native resolution and that ambient lighting is appropriate to avoid glares on the screen.
  2. Start the Test: Start a sharpness test on your monitor. Our test includes text that will help you assess sharpness.
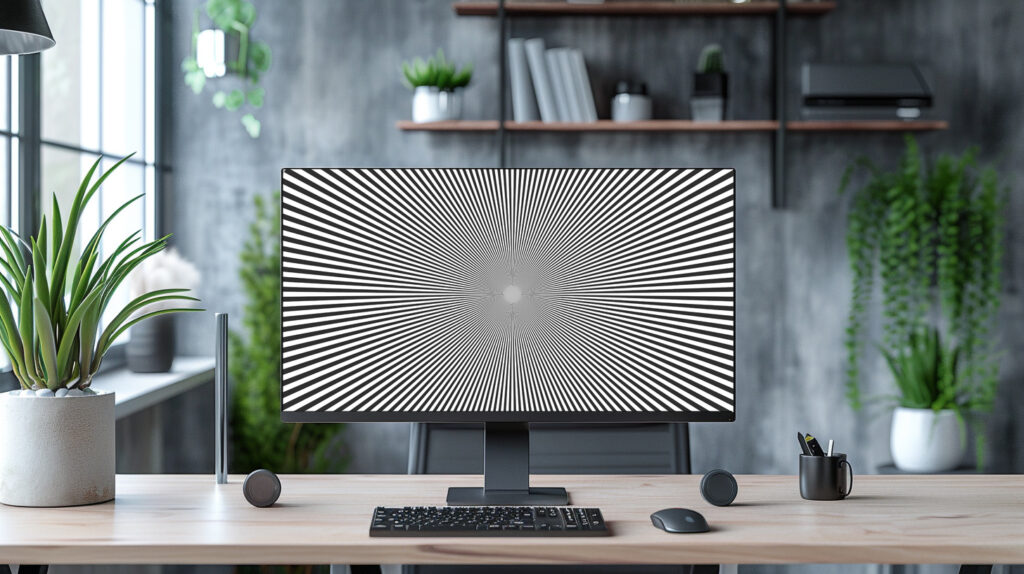
  3. Analyze the Pattern: Look for any signs of blurring or distortion around the edges of lines and texts. A sharp monitor will display clear and distinct lines without any fuzziness. You can also use our pattern test.
  4. Adjust Settings: If the image is not sharp, adjust your monitor’s sharpness setting. Start from a lower setting and increase gradually to avoid over-sharpening, which can introduce unwanted noise.
  5. Re-test: After adjustments, retest with the same pattern to see if there is an improvement in sharpness.

Latest post

response time test
Motion Picture Response Time

This test will help you evaluate how quickly your monitor can transition between different colors an…

gamma test
Gamma Calibration Test

This quick and easy test will guide you in evaluating and calibrating the gamma setting of your moni…

Leave a Reply

Your email address will not be published. Required fields are marked *

Exit ↑↓
Check the monitor for any malfunctioning pixels. Each pixel should be showing black. If you notice any colored illumination within a pixel, it indicates a subpixel that is persistently lit.
Tap this screen to open the following screen
Verify whether there are any faulty pixels on the monitor. Every pixel ought to display white. If you observe a black pixel, it signifies a pixel that's absent.
Tap this screen to open the following screen
Verify for any malfunctioning pixels on the monitor. Every pixel ought to display in red. The presence of a black pixel signifies the absence of the red subpixel.
Tap this screen to open the following screen
Verify for any faulty pixels on the screen. Each pixel ought to emit a green hue. Should you come across a black pixel, it suggests the absence of the green subpixel.
Tap this screen to open the following screen
Verify for any faulty pixels on the monitor. Every pixel ought to display blue. The presence of a black pixel denotes the absence of a blue subpixel.
Tap this screen to open the following screen
Exit ↑↓
Evaluate the consistency of the image by employing different shades of gray. Ensure that brightness is uniformly dispersed throughout the entire image, with no presence of vibrant hues.
Tap this screen to open the following screen
Evaluate the consistency of the image by employing different shades of gray. Ensure that brightness is uniformly dispersed throughout the entire image, with no presence of vibrant hues.
Tap this screen to open the following screen
Evaluate the consistency of the image by employing different shades of gray. Ensure that brightness is uniformly dispersed throughout the entire image, with no presence of vibrant hues.
Tap this screen to open the following screen
Evaluate the consistency of the image by employing different shades of gray. Ensure that brightness is uniformly dispersed throughout the entire image, with no presence of vibrant hues.
Tap this screen to open the following screen
Exit ↑↓
Exit ↑↓
Lorem ipsum. Test Text.
Exit ↑↓
Exit ↑↓
Exit ↑↓
Exit ↑↓